Spring is the perfect time to freshen up your home, and we have the perfect project! Kimberly made some cute and quick scalloped hand towels and we decided to share the pattern. This FREE downloadable pattern is easily customizable and will look great in a wide variety of prints! Let's make some towels!
To make this towel, you will need 1/4 yard of fabric for your scallops, 1/4 yard of fabric for your binding and accent strips, the 1" Quick Points Scallop Ruler (currently 20% off), 1" Quick Points Scallop Pusher (currently 20% off), Jillily Appli-Glue, and one standard hand towel. Download the FREE PDF Pattern for detailed instructions and watch our tutorial video for a closer look at how the Scalloped Hand Towel comes together.
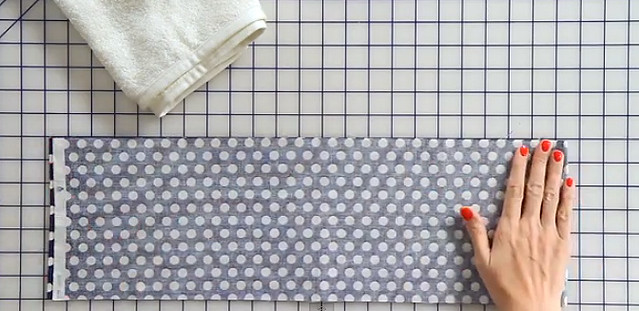
Start with your scallop fabric, and trim to a 7" by width of fabric strip. Fold in half with right sides together.
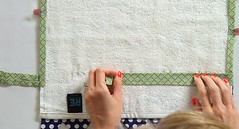
Next, using the 1" Quick Points Scallop Ruler, trace the scallop border on one edge of the ruler across about 19" of your fabric strip and draw a line from the edge of the scallop to the end of the strip.
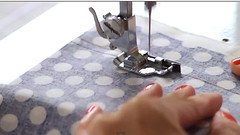
Sew approximately 1/4 inch from the drawn line. Watch the video to see how Kimberly demonstrates the "one stitch over" between scallops - this will help greatly when turning your scallops back out. Trim between the drawn line and stitch line. When cutting your scallops, be careful to snip right to the stitch line, not through it!
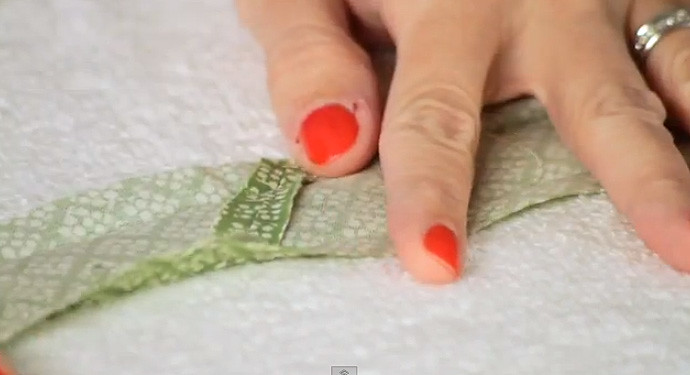
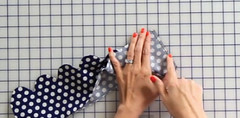
Turn right sides out and finger press. Then use the Quick
Points 1" Scallop Pusher to press and iron each scallop. Leave the
Scallop Pusher inside the fabric and iron on top to form
the scallop shape.
Trim the scallop unit 4 1/2" away from the scallop.
Now, it is time to assemble the binding and accent strip! Cut your fabric into three 2" x Width of Fabric strips. Join two strips together end to end on the diagonal for the binding. The remaining strip will be the accent strip. Fold each long edge of the 2" strips towards the center and press to make 1" finished bias tape. P.S. you can use the Simplicity Bias Tape Maker to save time!
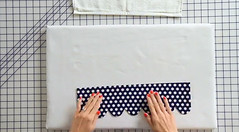
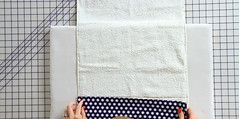
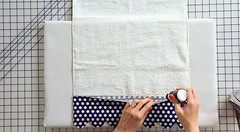
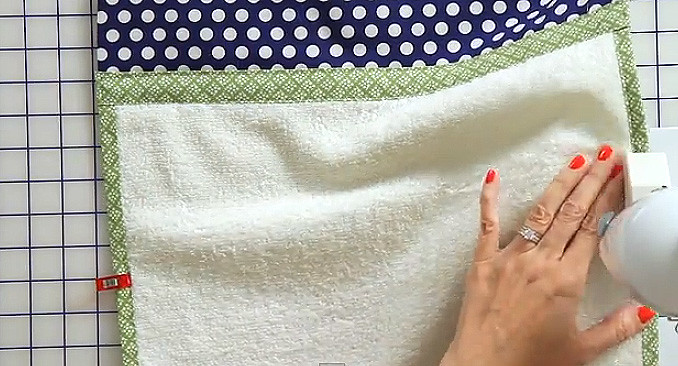
Let's put it all together! First, lay the Scallop Edge Unit on the towel, fitting as many full scallops on it as you can. Cut off the excess 1/4" away from the left and right edge of the towel.
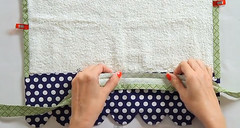
To close the scallops back up, flip the unit with right sides together and sew the ends together with a 1/4" seam, backstitching at the beginning and end, and flip back out.
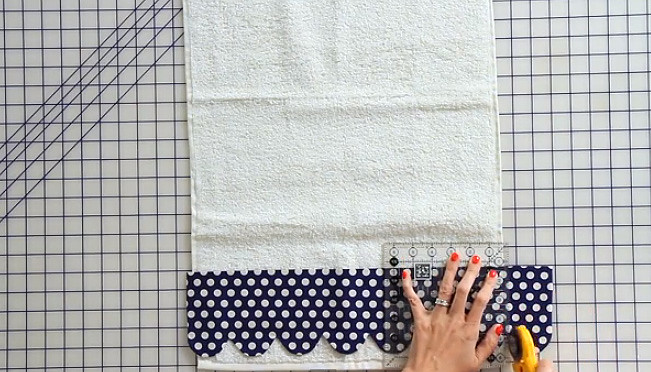
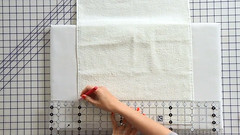
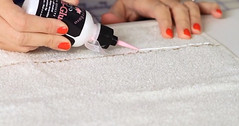
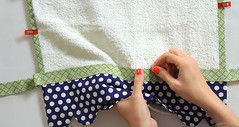
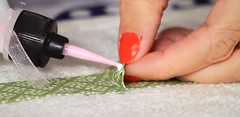
Draw a line on your hand towel 3 1/4" from the bottom and use a thin line of Appli-Glue right below your drawn line.
Glue the scallop unit to the towel and glue between the two layers to keep in place.
Glue the binding strip around the towel, starting 1/8" below the top of the scallop, gluing on the front and back and mitering the corners. Kimberly used Clover Wonder Clips to helpkeep it in place until she set the glue with the iron.
At the end, cut 1/8" below the top of the scallop edge.
Lay the Accent Strip on the towel, overlapping the edge of the scallop and glue together. Use pins to mark the top of the strip.
Line up the strip across the back of the towel, fold the edges under to hide the raw edge, and glue in place.
Sew the Accent Strip 1/4" away from the edge using a walking foot, 2.5 stitch length, and matching thread.
Sew the Binding Strip to the towel using a walking foot, 2.5 stitch length, and matching thread.
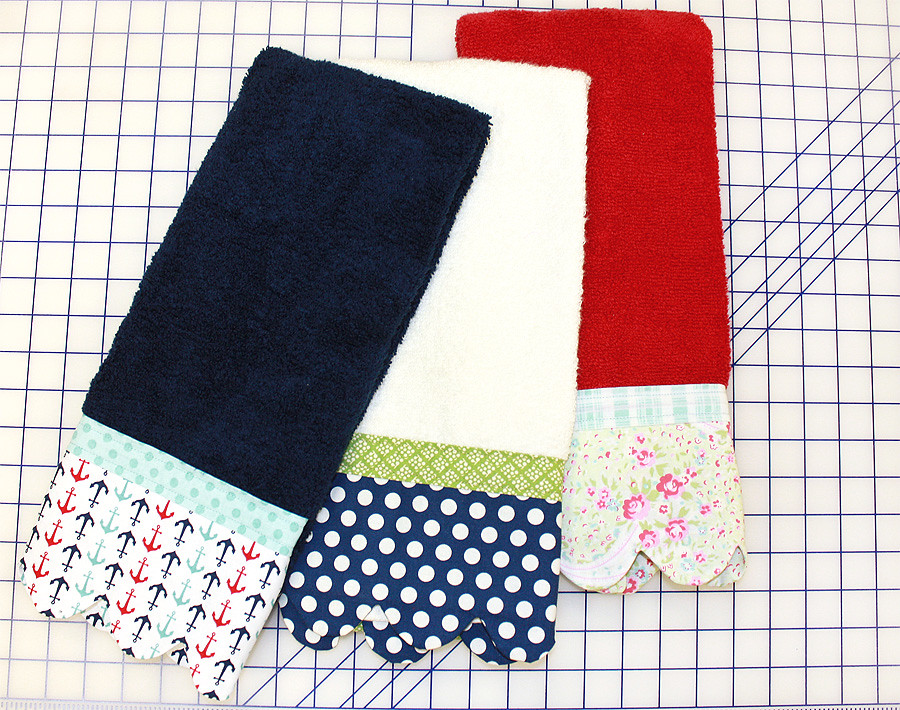
Your towel is now complete!
These Scalloped Hand Towels come together in a snap and make fantastic gifts! Make one for yourself and one for a friend!
What do you think of this tutorial? Do you plan to make a towel or two? Be sure to subscribe to the Fat Quarter Shop YouTube Channel for more tutorial videos and project ideas! Labels: Fat Quarter Shop Videos, Free Spirit Fabrics, Quilt Project, Sewing Projects, Tutorials