We're diving into some new waters this week and teaming up with Heidi from Fabric Mutt to bring you this 15-step tutorial for this adorable trinket case!
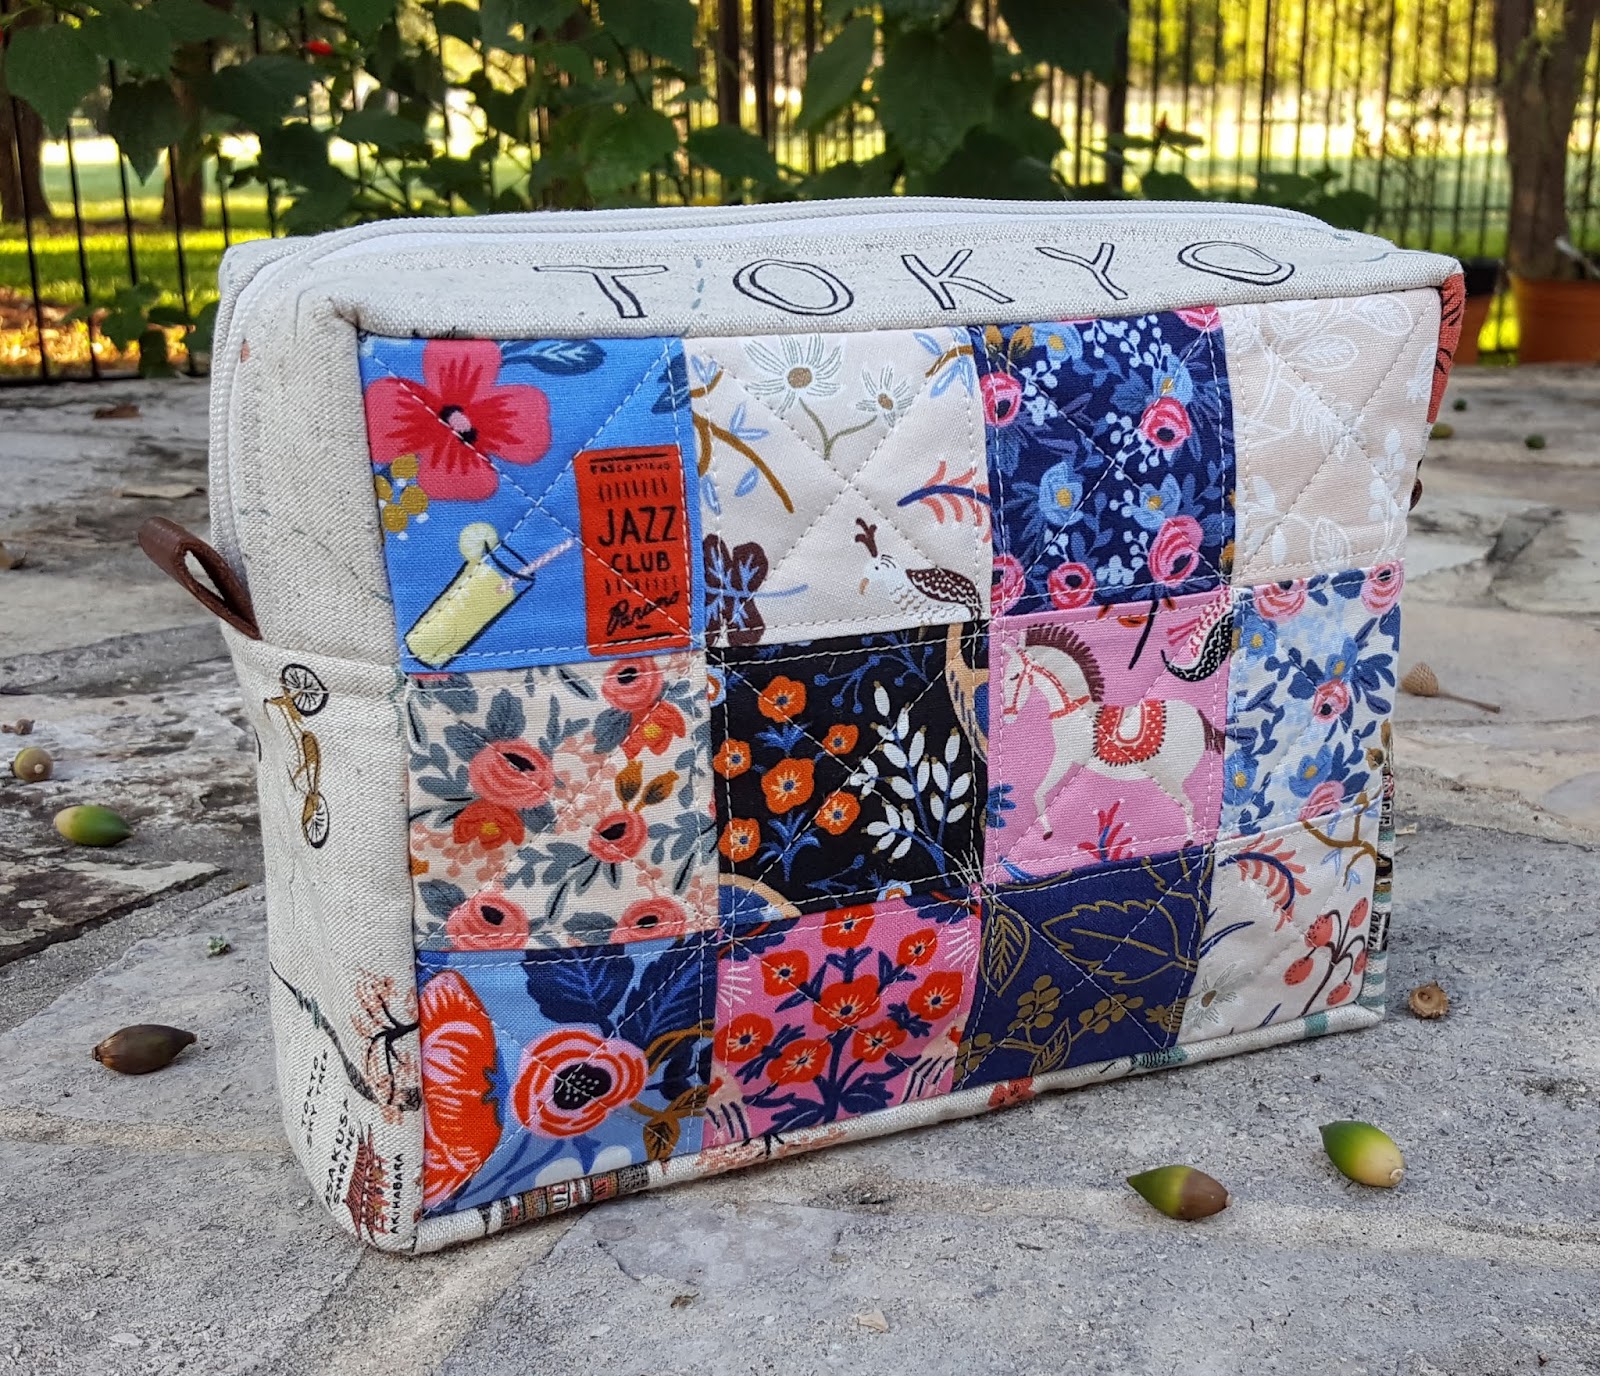
There are so many reasons to love this zipper case. Looking for a way to show off treasured scraps or a mini charm pack of your favorite collection? Want a cute pouch to hold your makeup or art supplies or latest sewing project? Need a last minute gift for a friend? Then look no further -- this case is exactly what you need!
A boxy case like this one takes a little more time than a typical zipper pouch, but the results are well worth it. Follow the directions below carefully, and you’ll have a case of your own in just a few hours. Get ready to store your treasures in style!
Trinket Case Tutorial
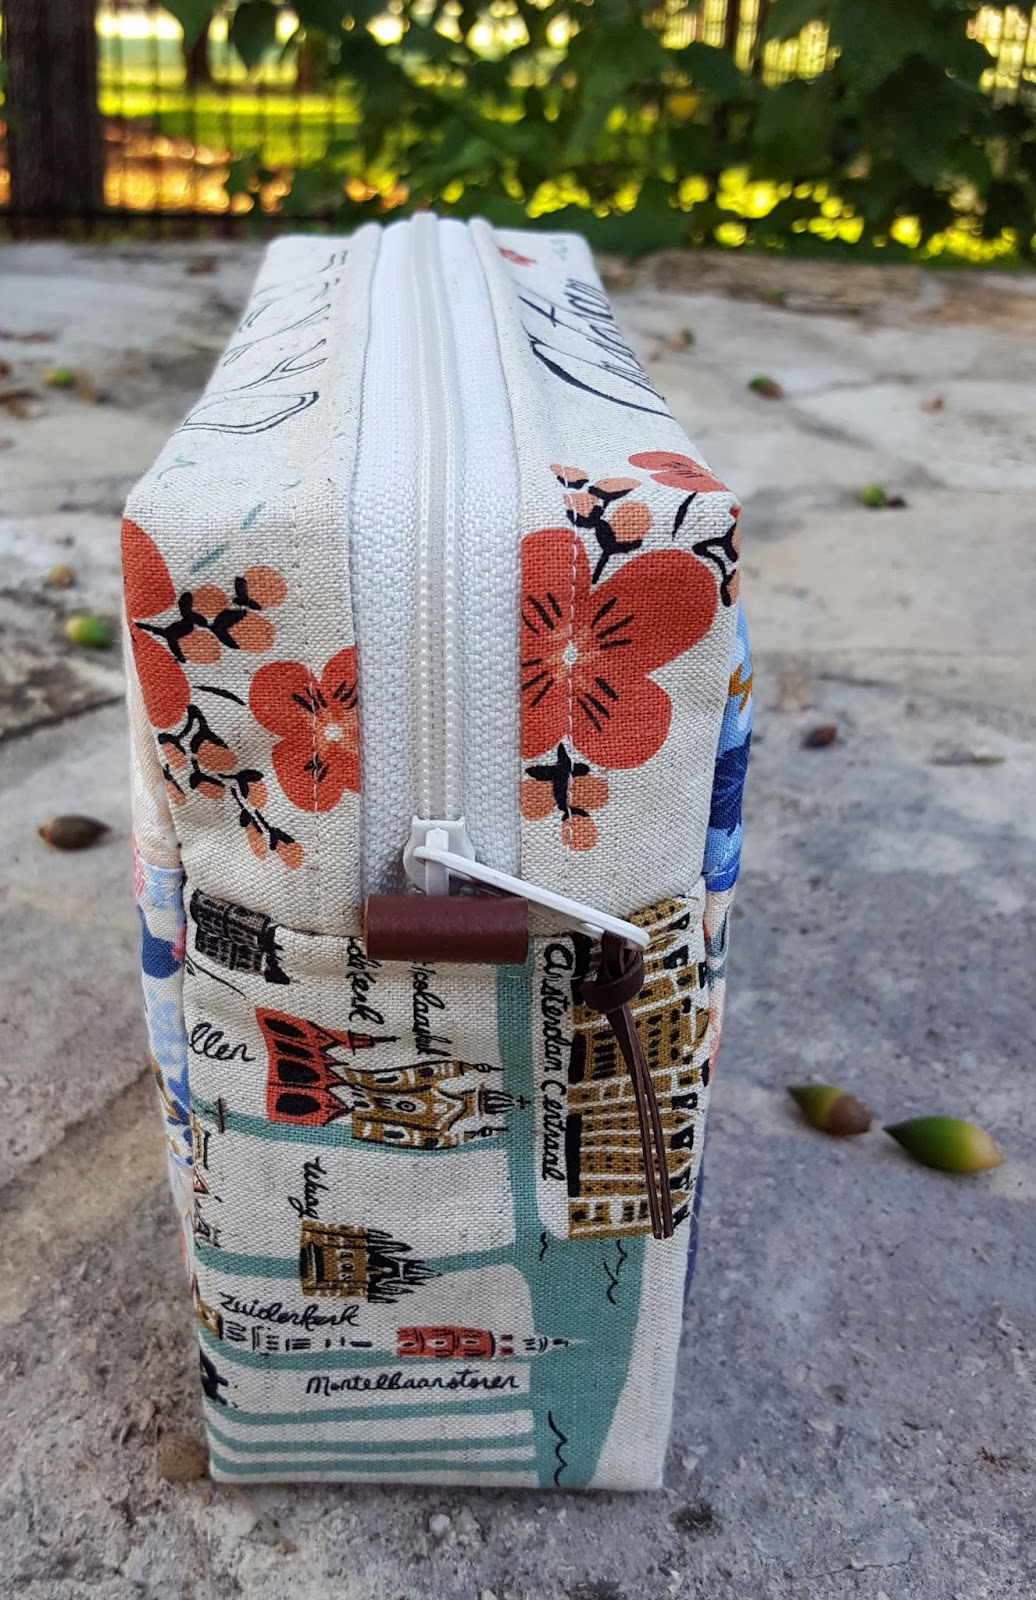
Finished Size: 6” tall x 8” wide x 2 3/4” deep
All seams 1/4” unless otherwise stated.
RST = RIght Sides Together
WST = Wrong Sides Together
- Press toward the dark fabric or press your seams open, whichever you prefer, unless otherwise stated.
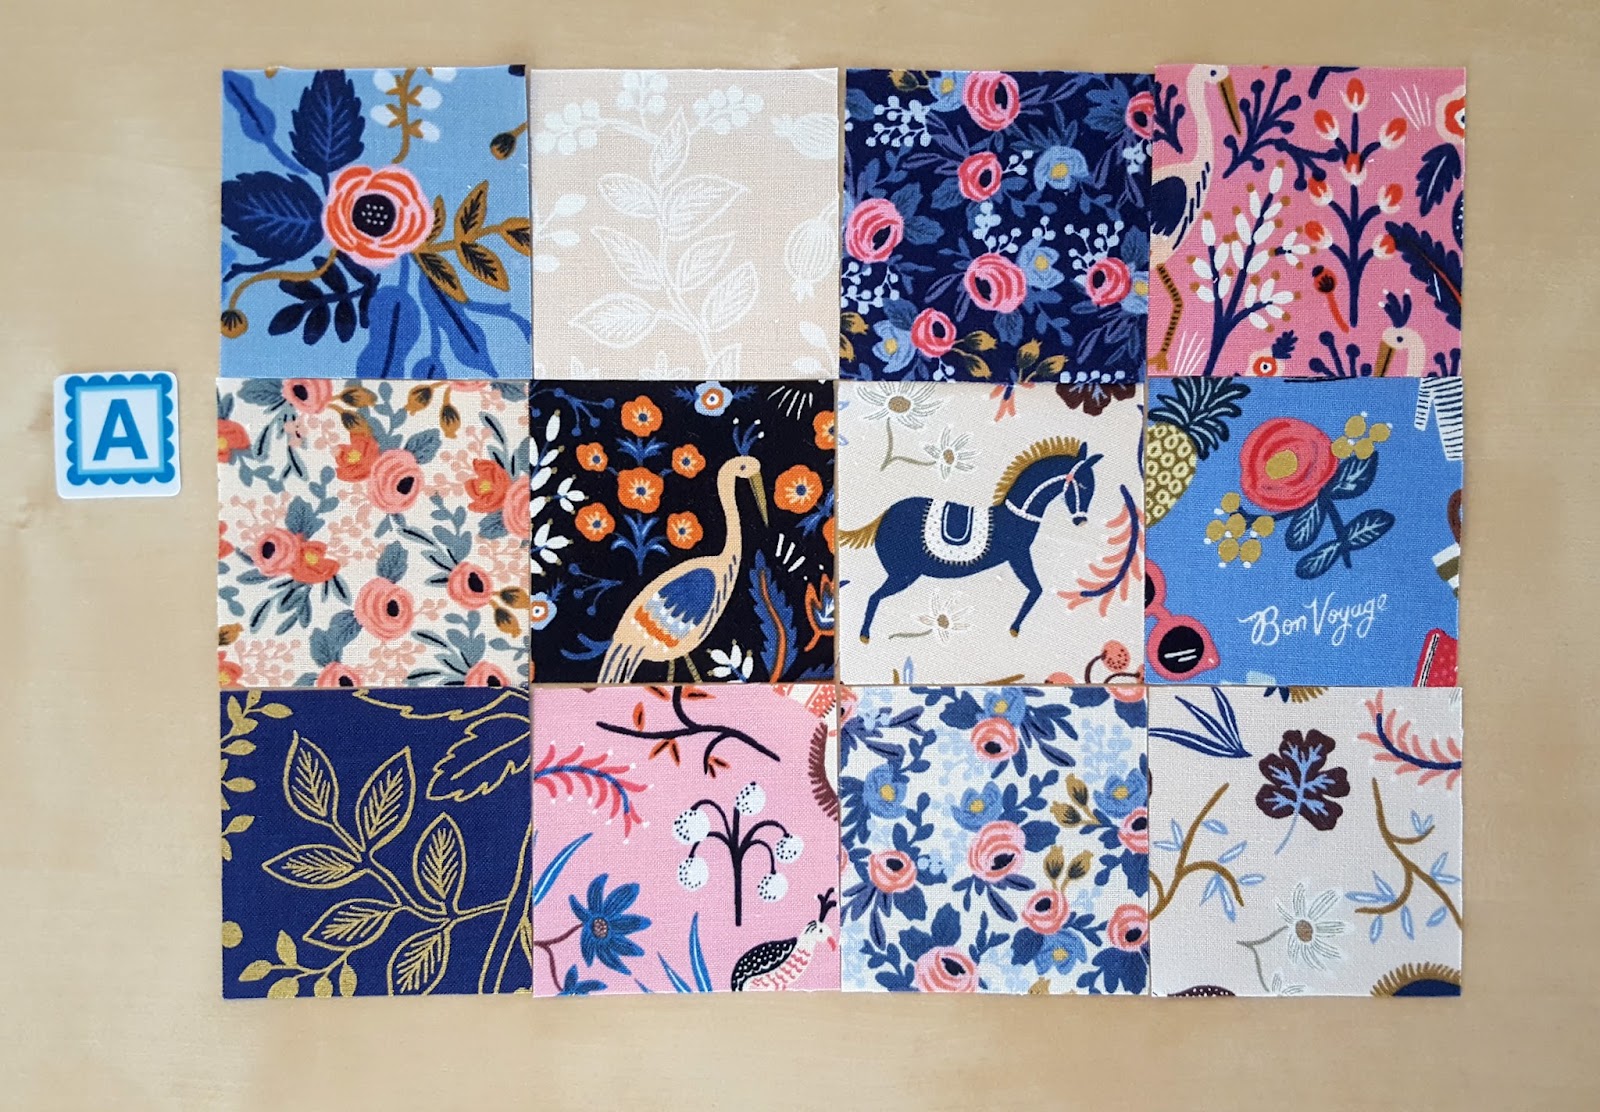
1. Arrange your 24 patchwork squares (A) into two 3 x 4 grids containing 12 squares each. Sew the squares together to make 2 patchwork panels, each measuring 6 1/2 x 8 1/2”.
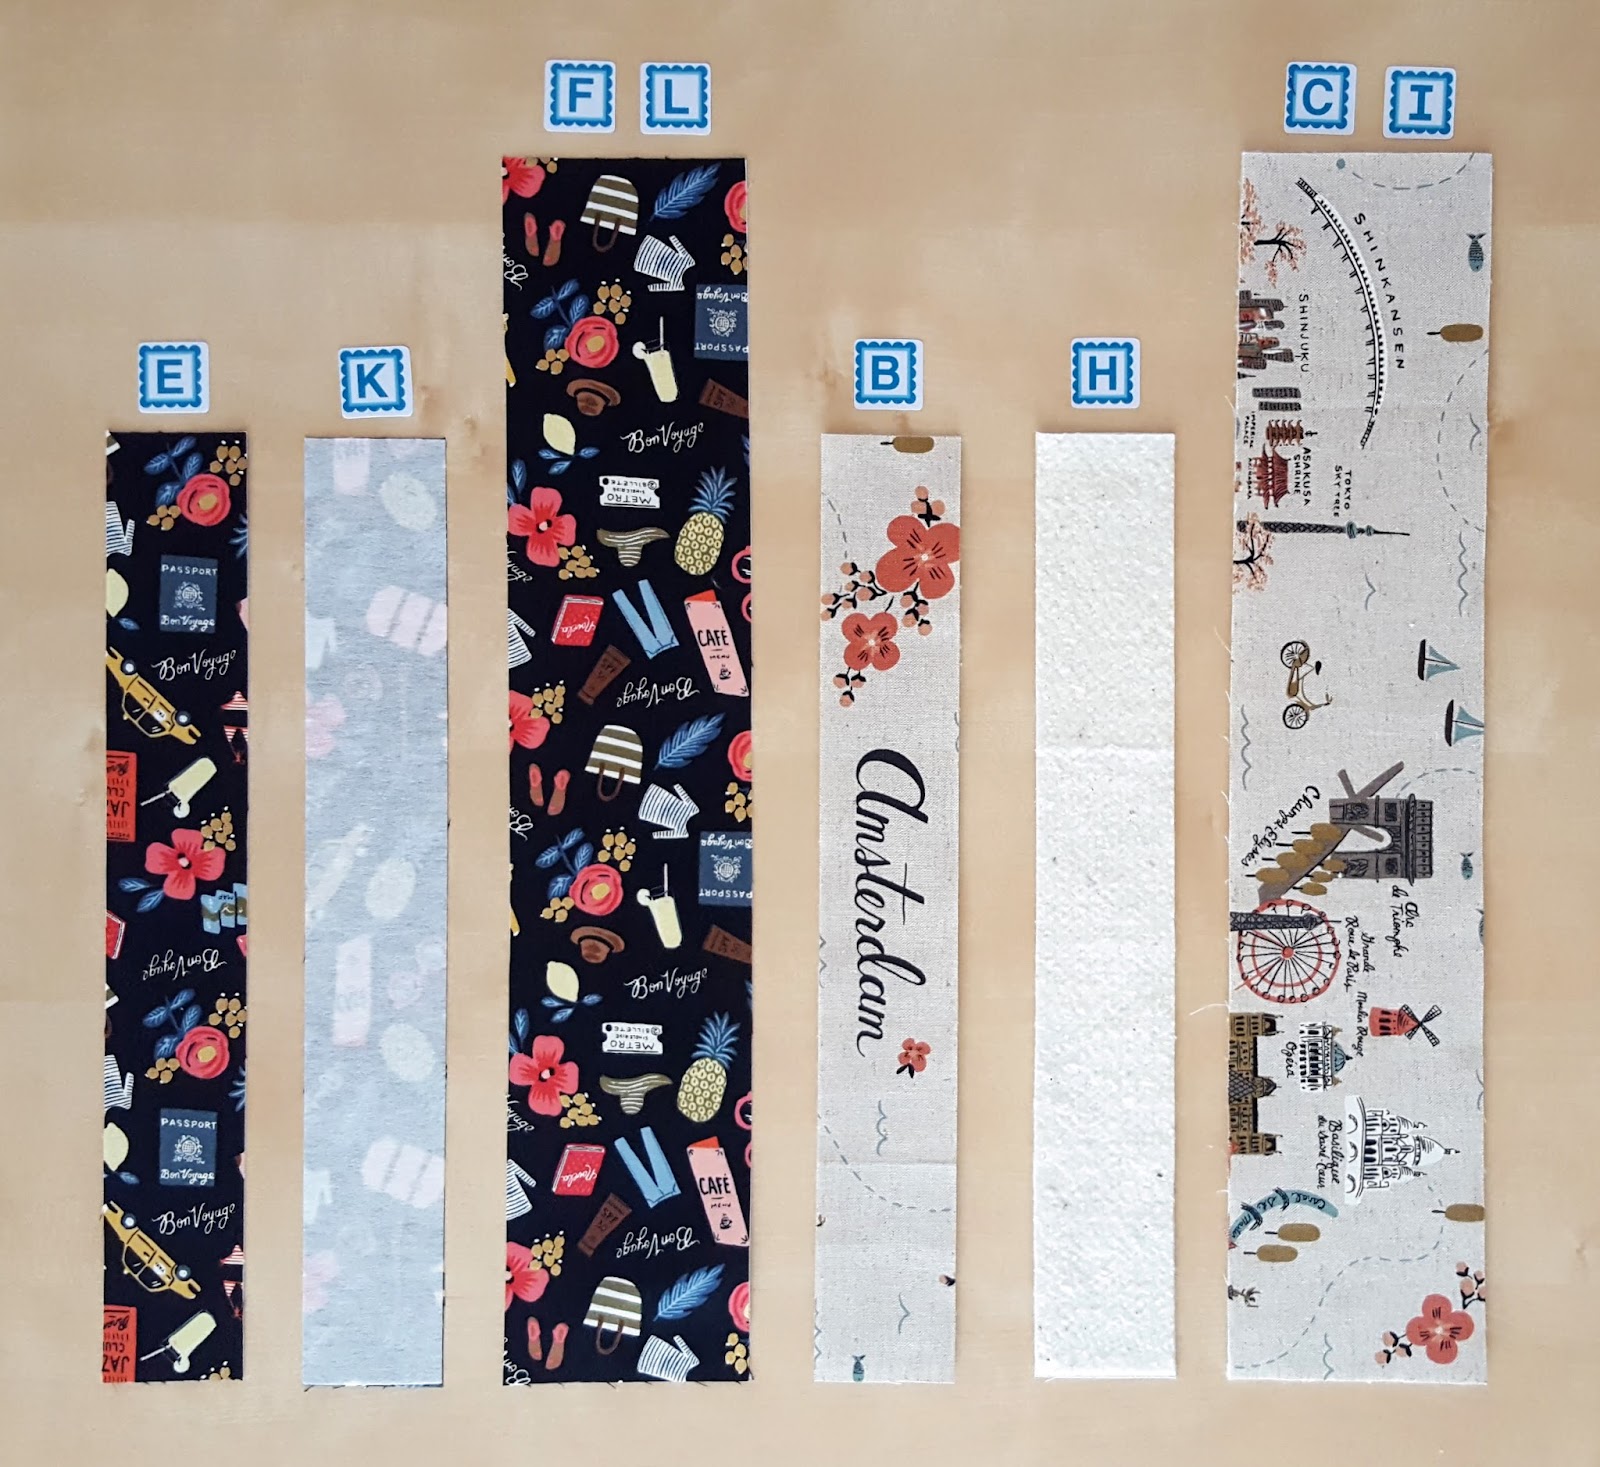
2. Fuse the wrong side of the lining side panels (D) to the coordinating pieces of fusible interfacing (J) according to the manufacturer’s instructions (not shown in photo above). Do the same with the zipper panel lining pieces (E & K) and the gusset lining pieces (F & L). Use adhesive basting spray to fuse the zipper panel batting pieces (H) to the wrong sides of the linen exterior zipper panel pieces (B). Do the same with the exterior gusset pieces (C & I).
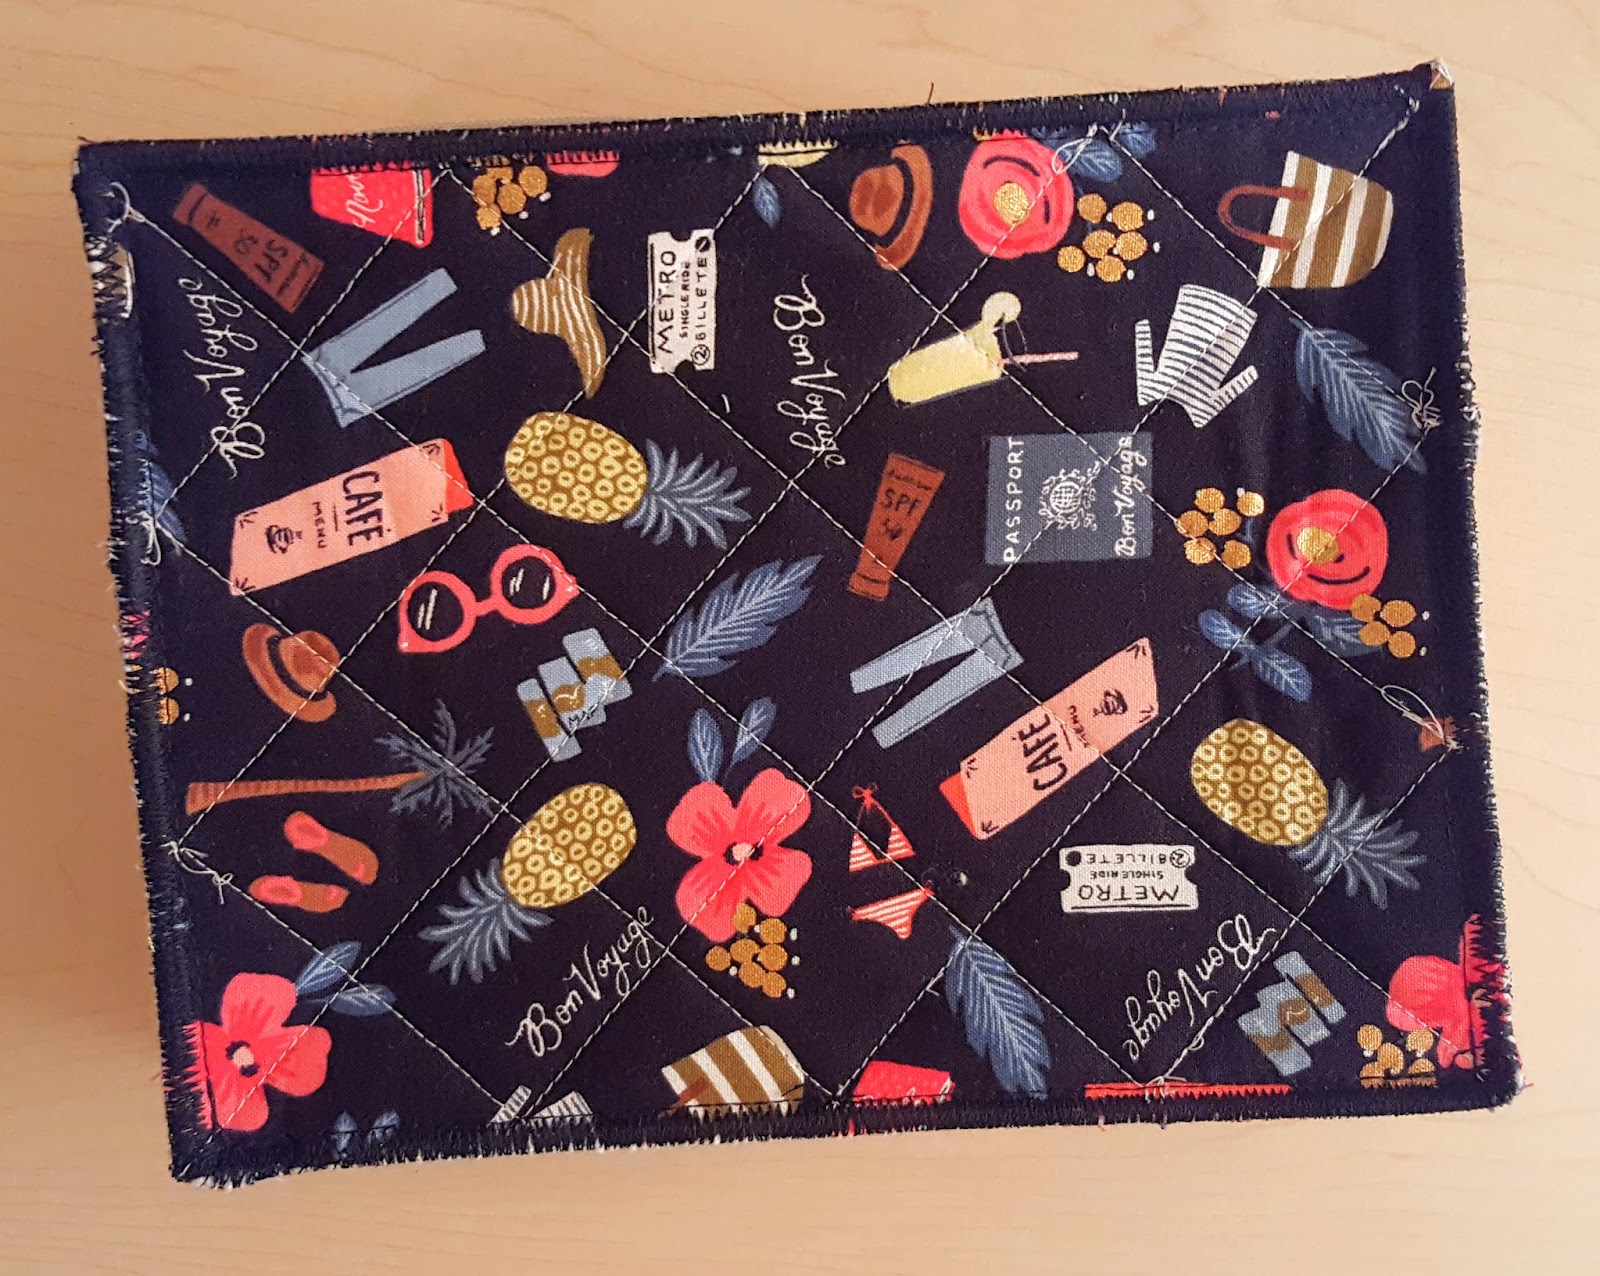
3. Use adhesive basting spray to fuse the exterior side panel interfacing batting rectangles (G) to the wrong sides of the patchwork panels (A). Then fuse the side panel lining pieces (D) to the other side of the batting. Quilt as desired. (Note: I chose to quilt my exterior panels along the seams first before fusing the exterior panels to the lining panels, after which I quilted my diagonal lines. This gives me a bit of variety in the quilting between the outside and inside of the case.)
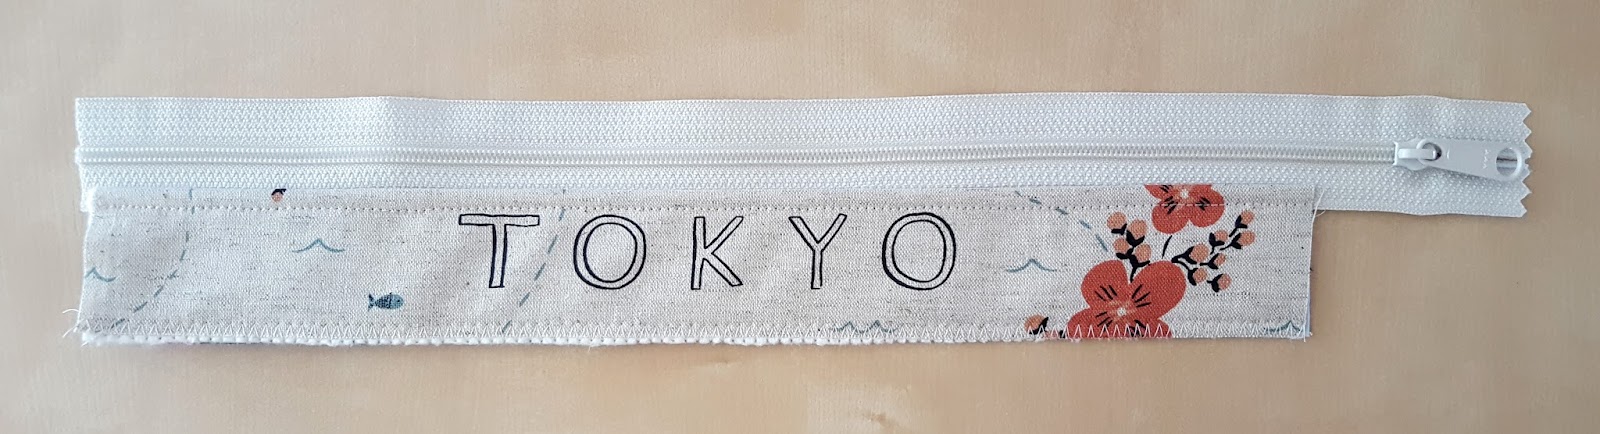
4. Stack in this order from bottom to top: one zipper lining panel (E - right side up), zipper (right side up), and linen zipper exterior panel (B - right side down). You can place the panels anywhere along the zipper as long as it is between the metal ends. (The zipper will extend beyond the length of the panels, but you’ll trim those edges off later.) Line them up along one long end of each piece (see photo) and stitch 1/4” from the edge. Use a zipper foot if you like, though I just use my 1/4” foot for this.
5. Fold back the linen and lining from the zipper so that the wrong sides are together and press. Top stitch one seam 1/4” along the zipper.
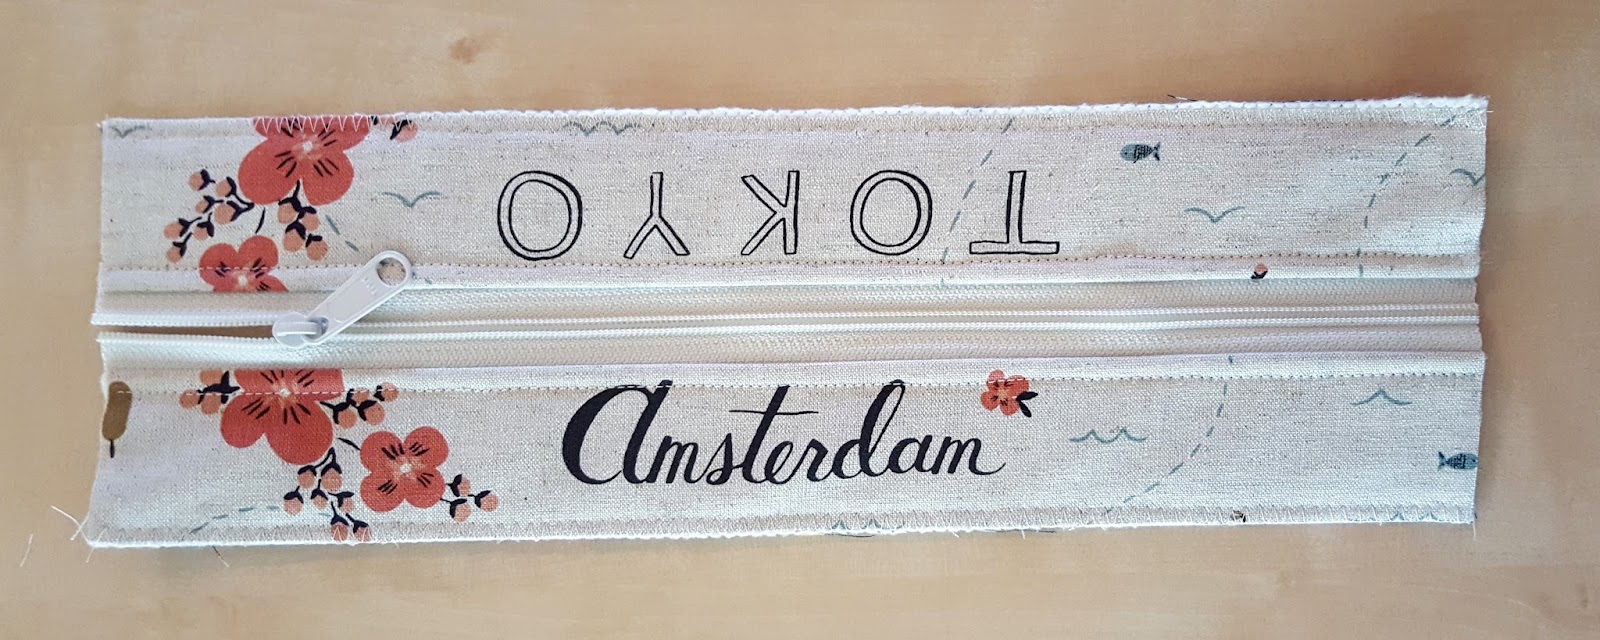
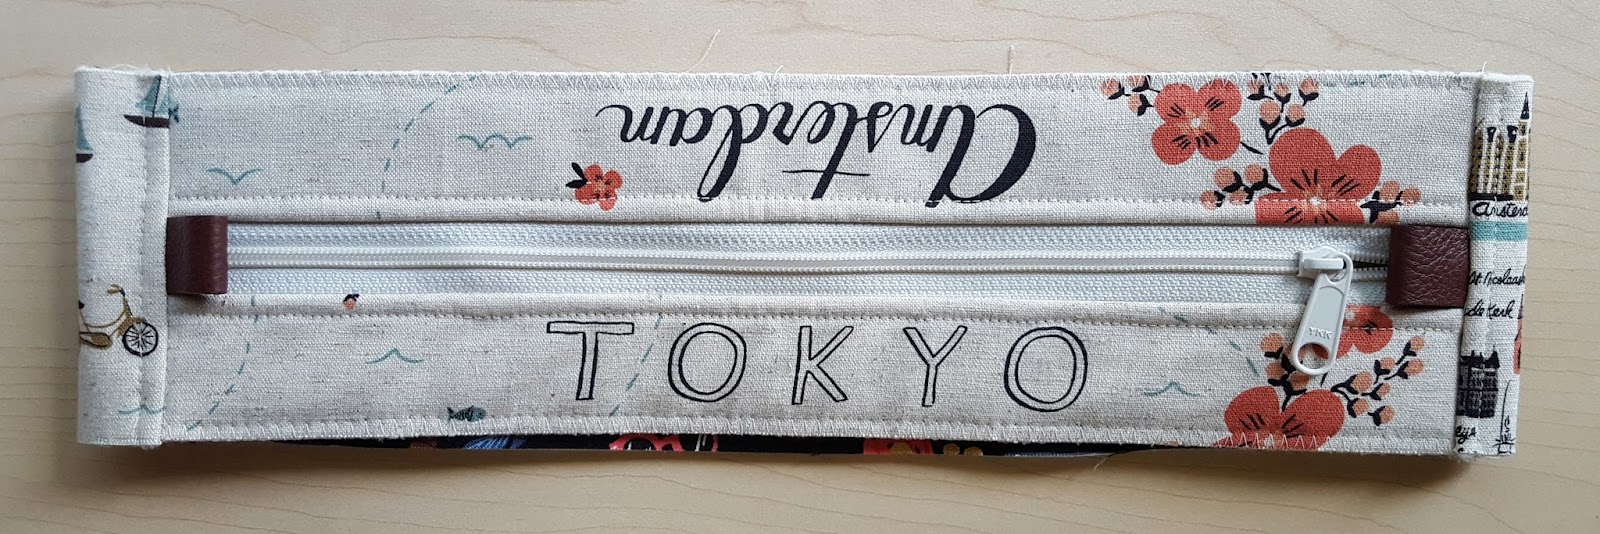
6. Repeat steps 4 & 5 with the pieces for the other side of the zipper panel. Trim the zipper ends that go past the panel on either side, making sure that the zipper pull stays in the center. Trim the width of the zipper panel down to 3 3/4” wide, making sure that the zipper stays in the center. Zig zag stitch down the long sides of the zipper panel (this will keep the raw edges of the exterior and lining pieces together while you work) and use a fabric pen or pencil to make a small mark at the center point on each of those long sides.
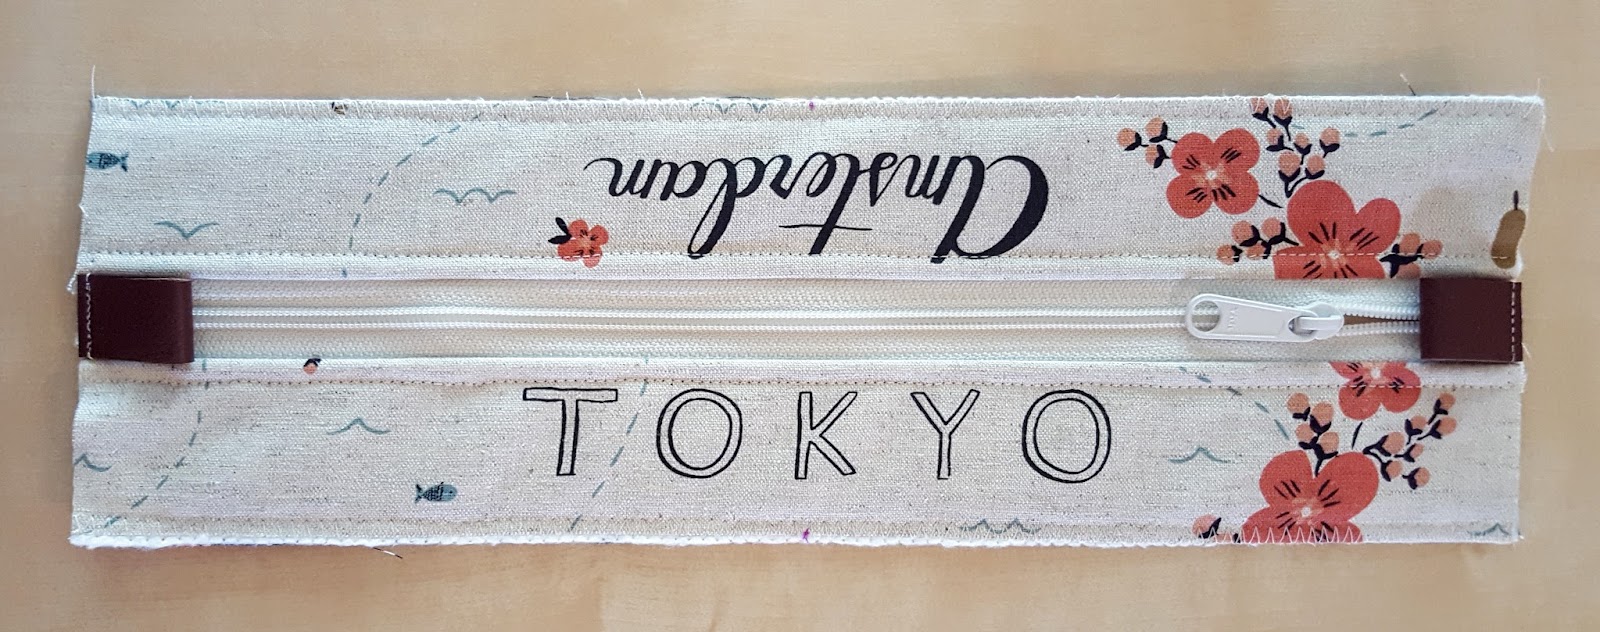
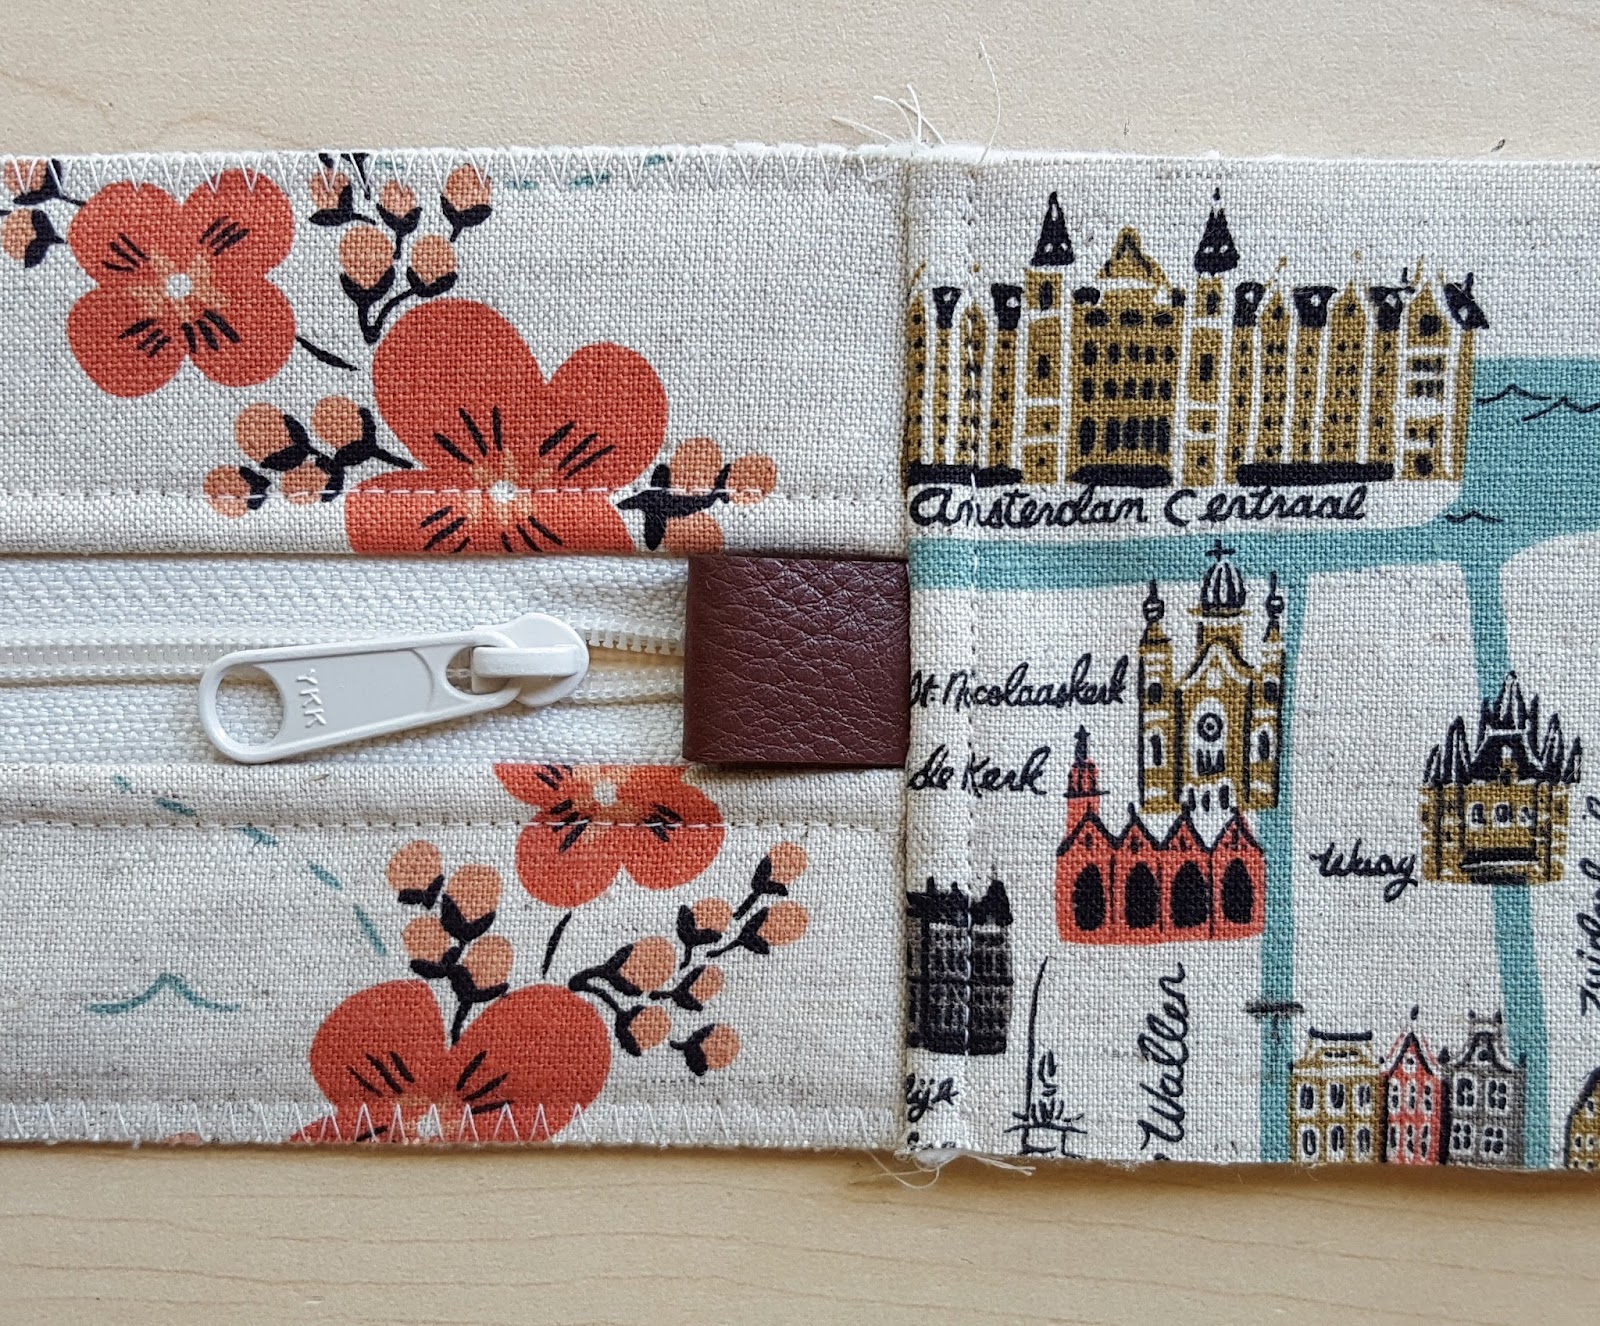
7. Fold the leather rectangles in half so that the short ends meet. Stitch 1/8” from the raw ends to hold them together. Center the stitched ends of one leather loop on one short side of the zipper panel (see photo) and baste in place. Repeat with the other leather loop on the other short side of the zipper panel.
8. Stack from bottom to top: gusset lining (F - right side up), zipper panel (B - exterior side up), and gusset exterior (C - right side down) along a short side and stitch the pieces together.
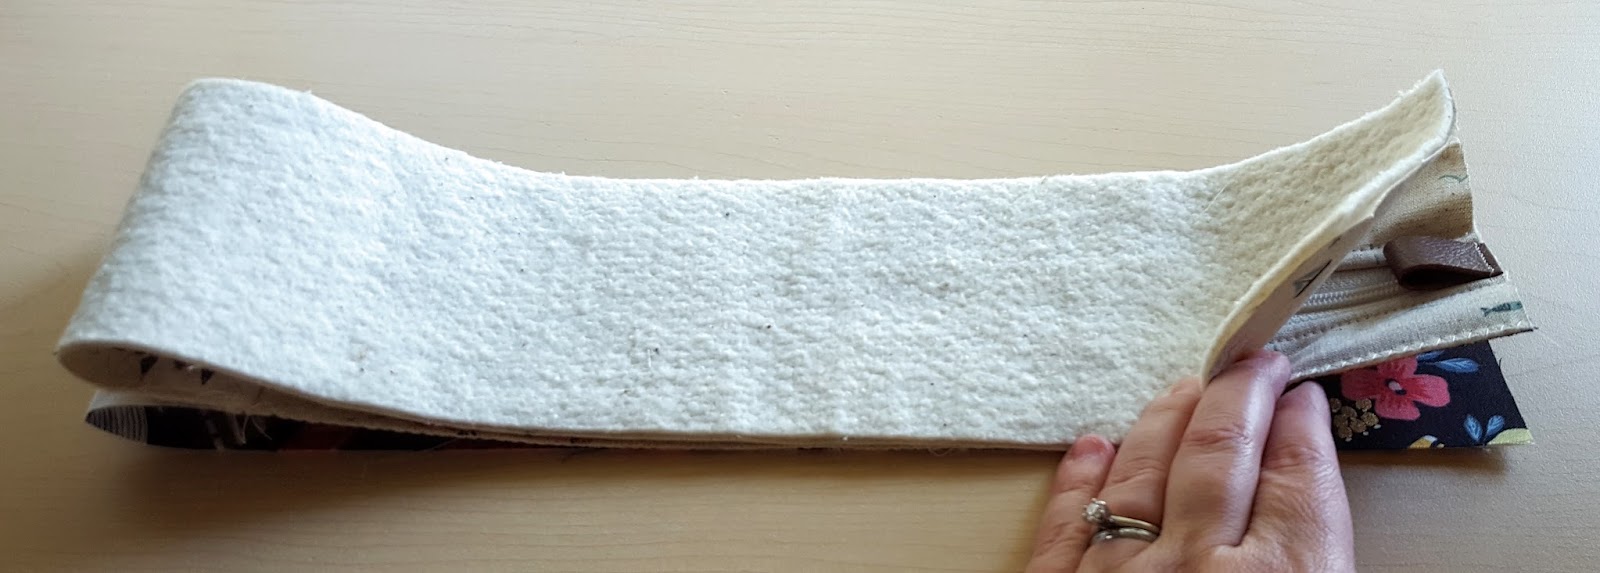
Flip the gusset pieces so that the wrong sides are facing each other and top stitch 1/4” from the end of the zipper (see photo).
9. Repeat step 9 on the other side of the zipper with the other ends of the gusset exterior and lining pieces.
Be sure to carefully top stitch without sewing through any of the other pieces by accident.
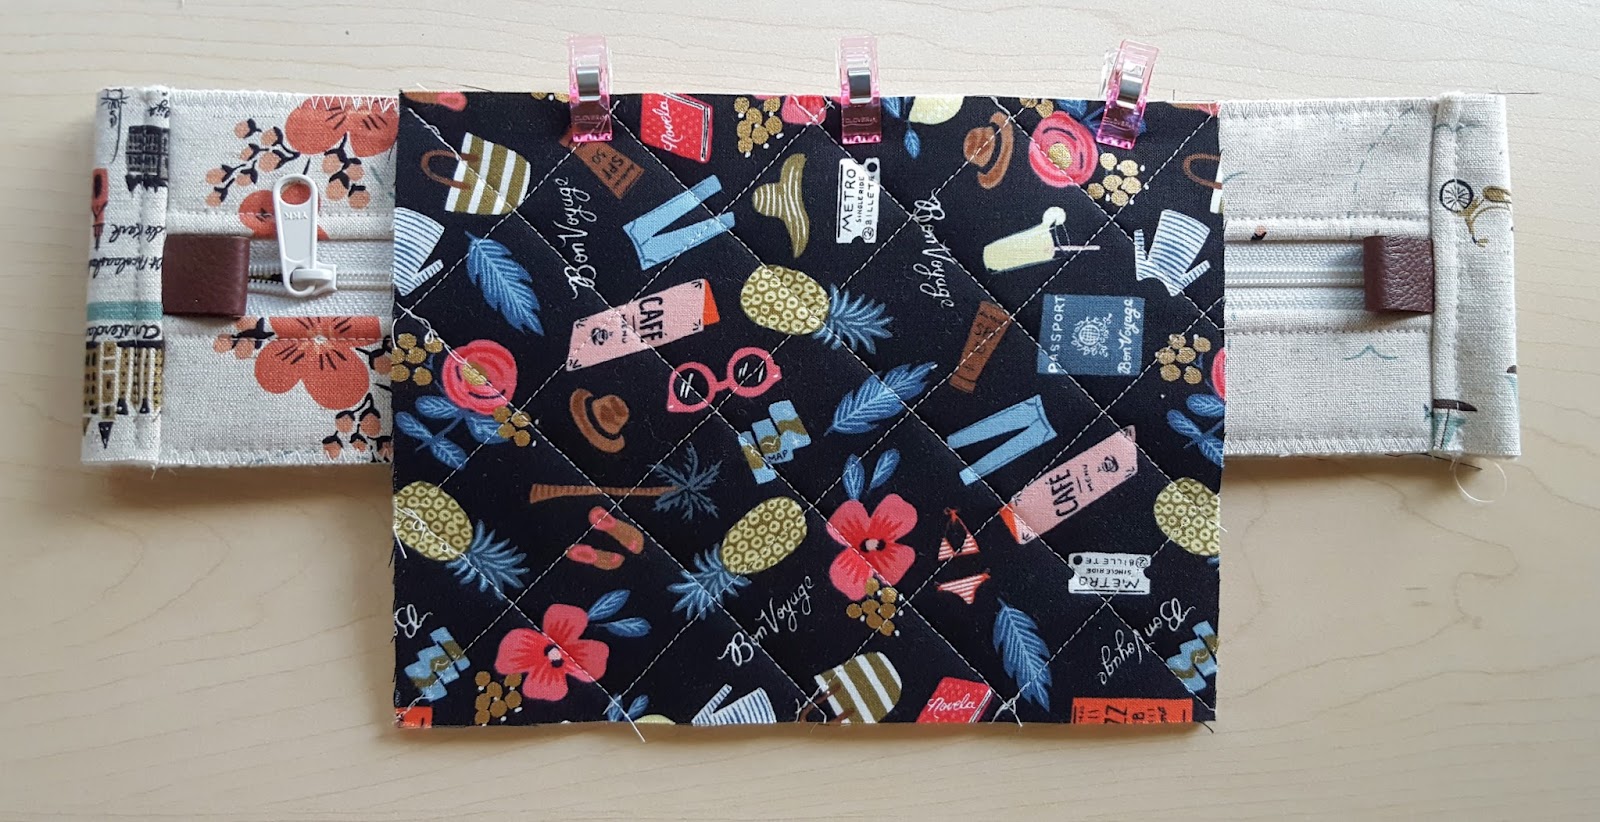
10. If you’re not already using one, switch to a thread that matches the color of your lining fabric. Match up the dot you made to mark the halfway point on a long side of your zipper panel with the middle seam on the top edge of a side patchwork panel (RST). Sew all along that top edge, stopping 1/4” before the corner at each end of the side panel and backstitching at each end.
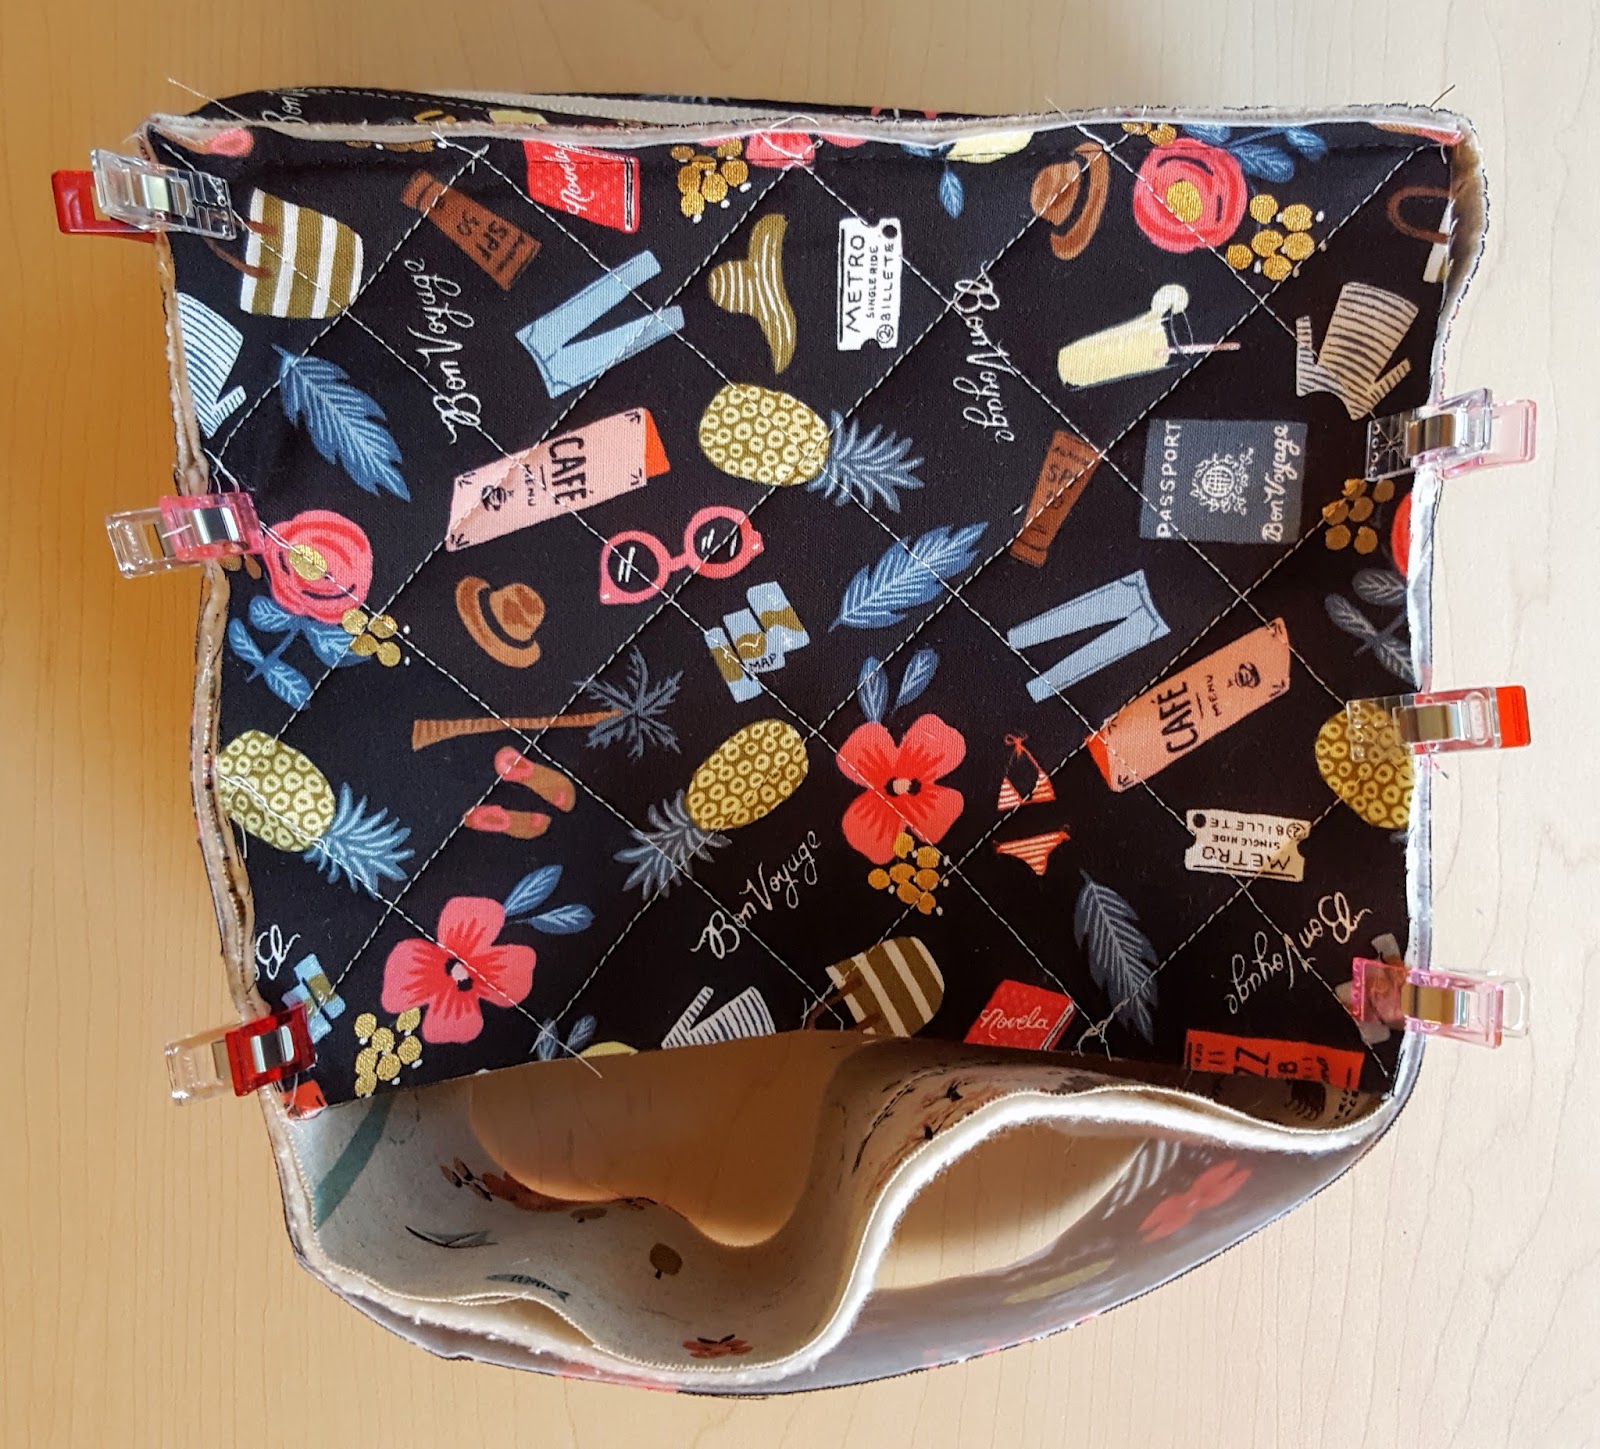
11. Use binding clips to fold the zipper panel/gusset piece around the sides of the side patchwork panel. Mitre the gusset at the corners just as you would the binding around a quilt. Match up the side seams between the gusset and zipper panel with the seam between the top and middle squares on the patchwork panel. Sew along the side edges, again stopping 1/4” before the corners at each end of the panel and backstitching at the end of each side.
12. Use binding clips to hold the side patchwork panel to the bottom edge of the gusset, making sure that the gusset is smooth along the bottom edge and that any excess fabric gathers are at the corners. (Tip: if you’re having trouble with the exterior and lining gusset pieces staying together, just sew them together along the edge with a zig zag stitch.) Sew the bottom edges together backstitching at each end (it’s okay if you don’t stop 1/4” before the corners on this side). Unzip the zipper all the way.
13. Repeat steps 11-13 on the other side of the zipper panel/gusset with the other side patchwork panel. Matching up the center mark on the zipper panel and the side seams will help your case to align correctly, but still check as you go to make sure that you’re getting the right boxy shape. This side is a little more difficult to do since the case gets in the way a bit, but if you go slowly and carefully, you can do it!
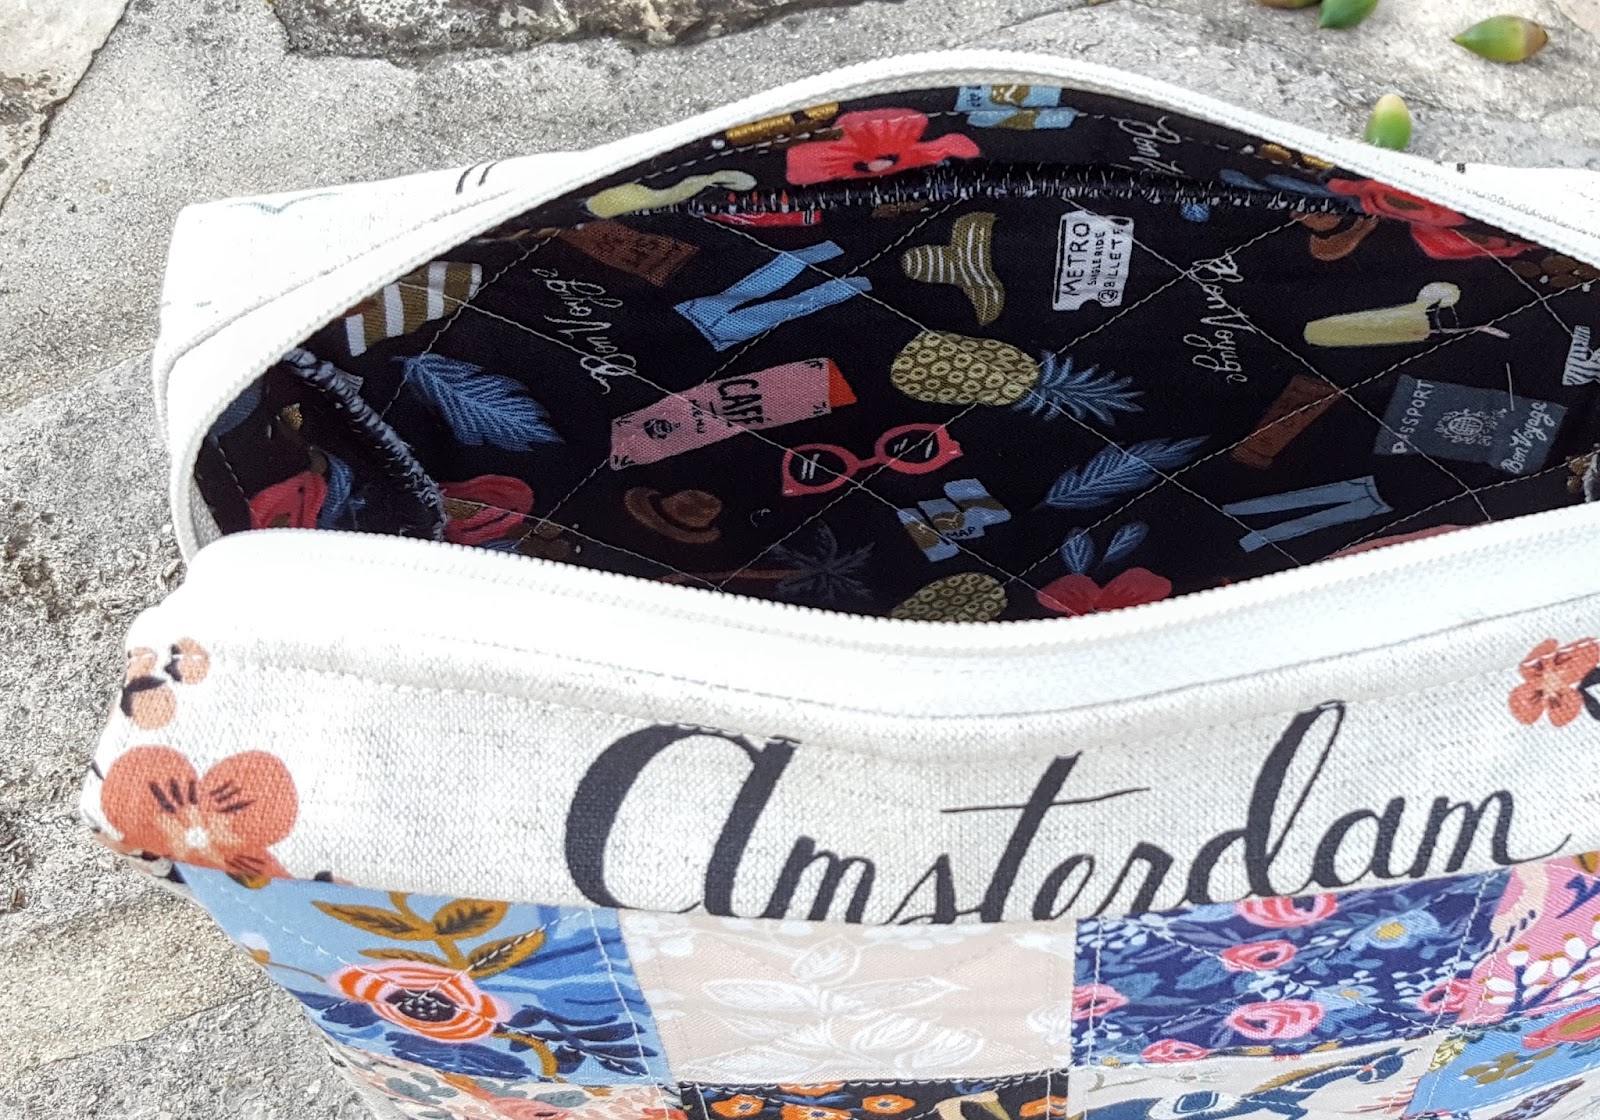
14. Finishing the lining on your case is a personal decision, so choose whichever option you prefer.
The easiest way to finish off your lining seams is to simply sew a zig zag stitch at least twice around both sides of the case, sealing in your raw edges. It’s quick, gives your bag great stability, and (as long as you’re using matching thread) can look surprisingly neat. Just be sure to trim any loose threads on your seams before you start and use a short stitch length (my stitches are spaced out at .5 on my machine).
- If you have more time and want an even cleaner finish, you can instead bind your lining seams with double fold bias tape -- either store bought or handmade using extra lining fabric (see the chart for cutting instructions). Bind the seams on each side of the case lining just as you would the edge of a quilt. I still recommend doing a zig zag stitch around each seam before binding -- it makes things a lot easier!
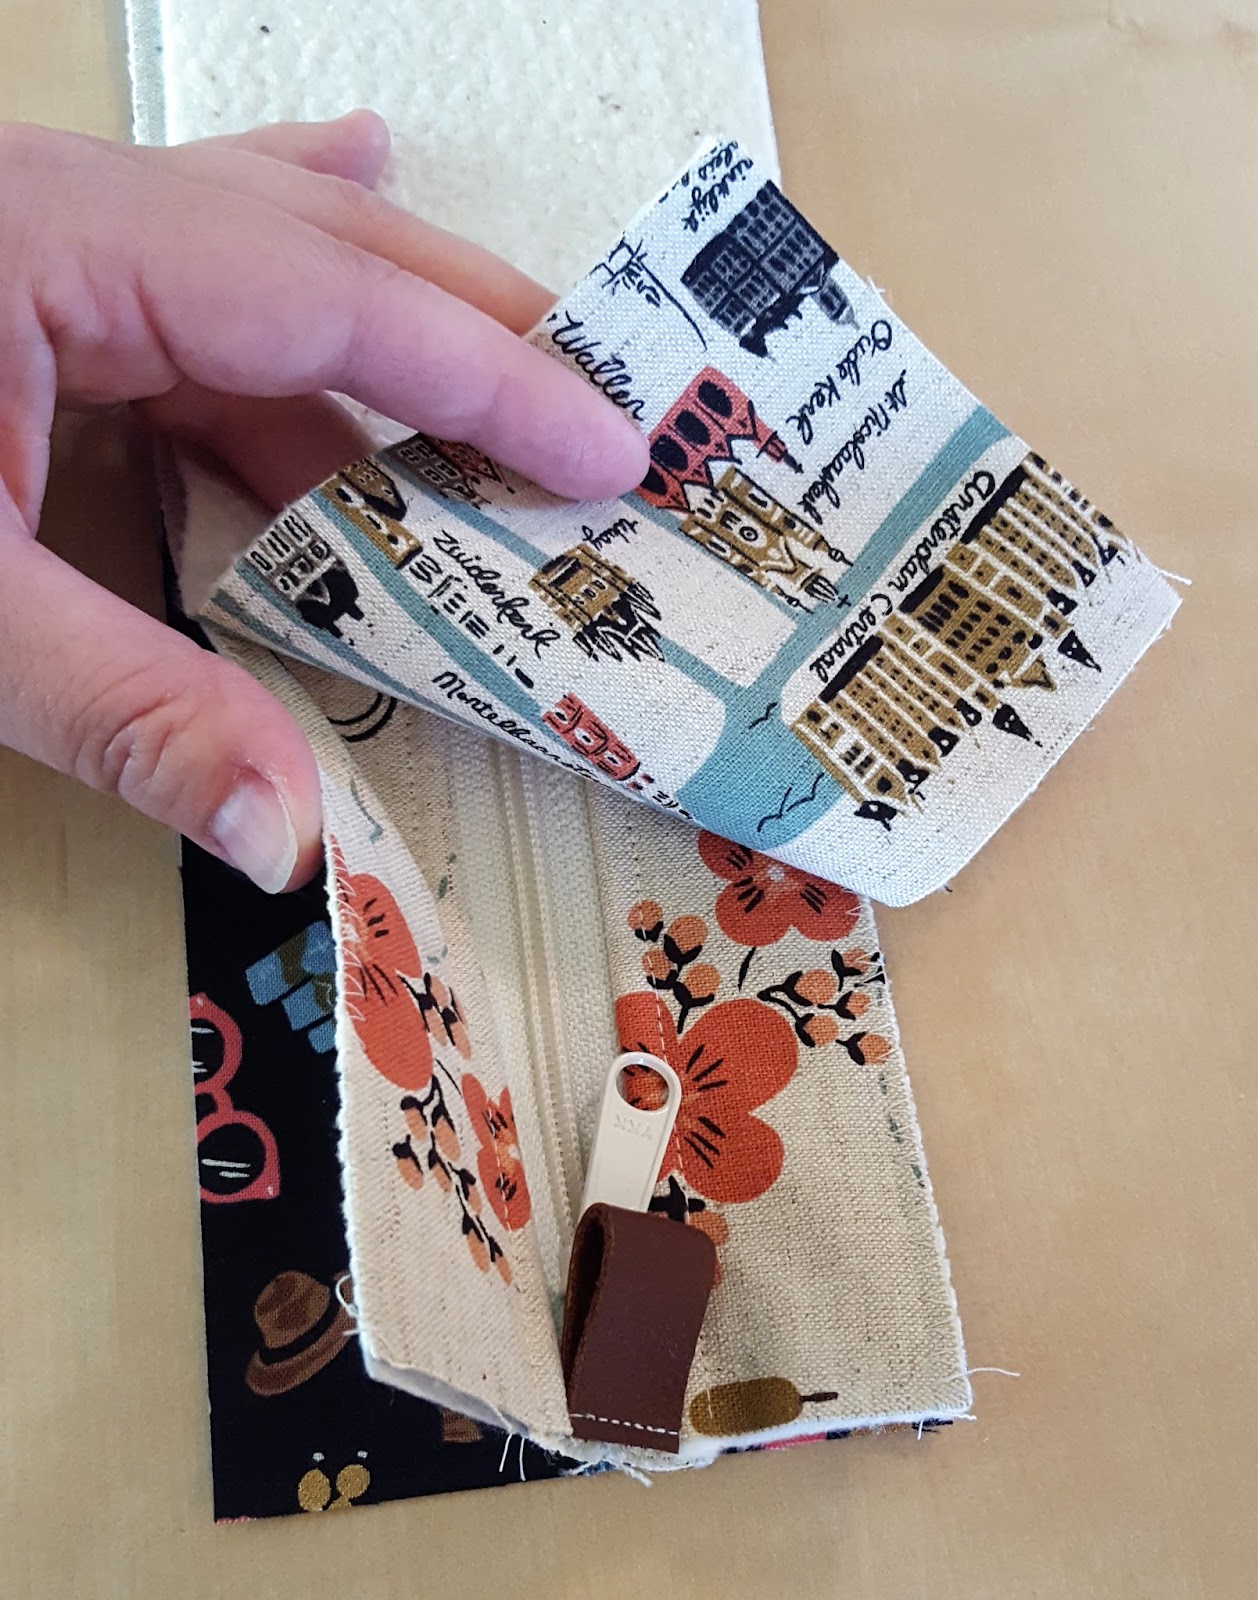
15. Turn your case right side out. To emphasize the boxy look of your case, carefully press all of the edges of the exterior. If you like, take a piece of leather lace and thread it through the hole in the zipper pull. Hold the ends together, knot them, and trim them at an angle. Fill your case with goodies and enjoy!
The Fat Quarter Shop team couldn't wait to get their hands on these directions and get their own trinket cases started! The end results were some beautiful trinket cases with eye-catching detail!
We can't wait to see your photos of your trinket cases! Be sure to tag us on Instagram @fatquartershop and @fabricmutt with the hashtag #trinketcase.
Like what you see? There's more to come from our Sew Illustrated series, so stay tuned! Happy sewing!
Labels: Fabric mutt, FQS Exclusive, FQS fun, Sewing Projects